 .
.This new V7 feature will allow you to automate your Batch Processes to run at night.
1. Go to the “Main Menu” and select .
2. Select the  tab and select the
  to select any “Process Type”

After selecting your Batch Process and your selection criteria. When you click the  button you would select the “Report Settings” option to create an automated script. The advantage of this feature is to eliminate down time during the workday and run all of your larger Batch Processes at night.

Things To Remember: Once your automated script is complete, you will need to have your IT person add the batch file that is created to your “Windows Scheduler”.
1. After selecting your “Process Type” and selecting your “Selection Criteria”. Click the button and choose the option.
2. The following pop-up window will appear:

3. Then click the  button.
Things to Remember: If you fail to enter your “Output/Options” before click on the saved button. You will have to make your selection and then click the  button to move forward
4. Then the “Report Settings” screen will display.
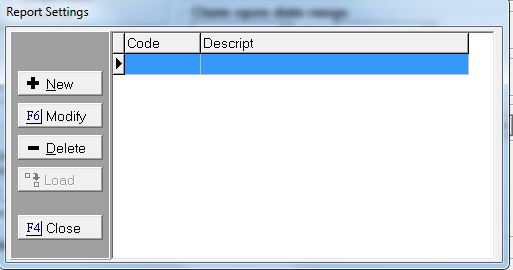
5. Click the  button.
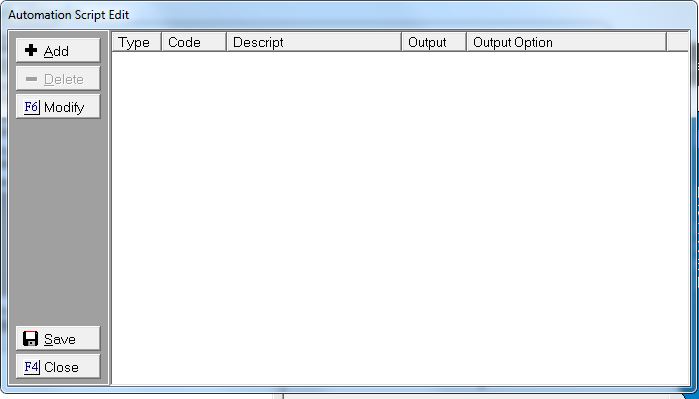
6. The “Report Settings Edit” button will pull up:

7. Enter your “Code” and “Description”.
8. Click the button.
9. Click the  button to return to your “Process Type” selection screen.
10. Click the button to return to the “Main Menu”.
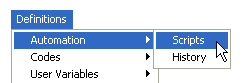
11. Click on "Definitions" then "Automation" then the “Scripts” option.
12. Click the button.
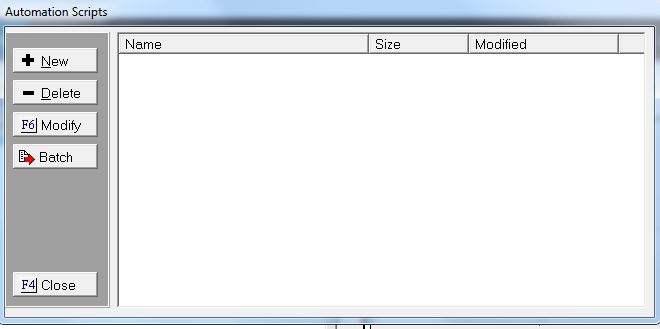
13. Click the  button.
14. The following pop-up will appear:
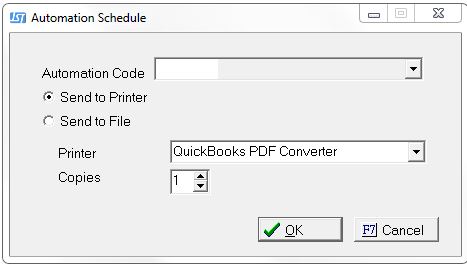
15. Using the button for the “Automation Code” and “Printer”
.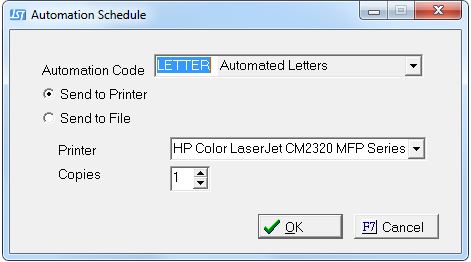
16. Then select the button.
 .
.
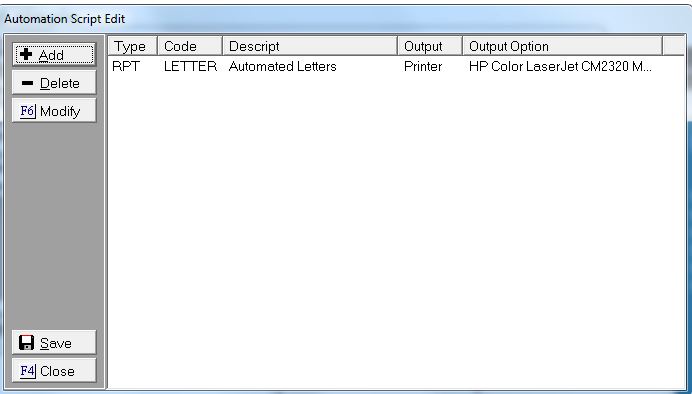
17. Click the button. This pop-up will automatically appear:

18. Enter your file name. Then click  button.
19. Then select the button. Then highlight the “. jsc” file that you want to automate.
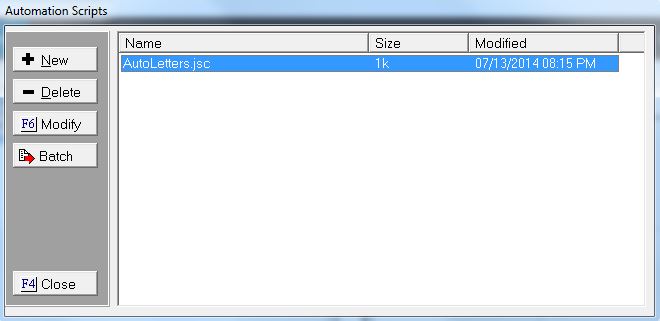
20. Click the  button the following will pop-up.
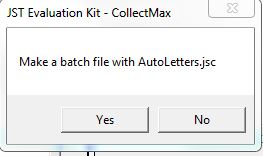
21. Click the “Yes” button. The location will be displayed for your batch file. At this point, this is the information that you should provide to your IT person. This is the information that they will need to add to your “Windows Scheduler”.

22. Click the button and then button to return to the “Main Menu”.